Deep dive
How Does AI Interior Design Work? Why Your Windows Move, and How to Stop It
A single strength dial forces a trade-off between moved windows and near-identical rerolls. Here’s how masked generation separates the two, and where it still falls short.
فريق ميرادوراوقت القراءة: 9 دقيقة
تُنشر المقالات باللغة الإنجليزية فقط.
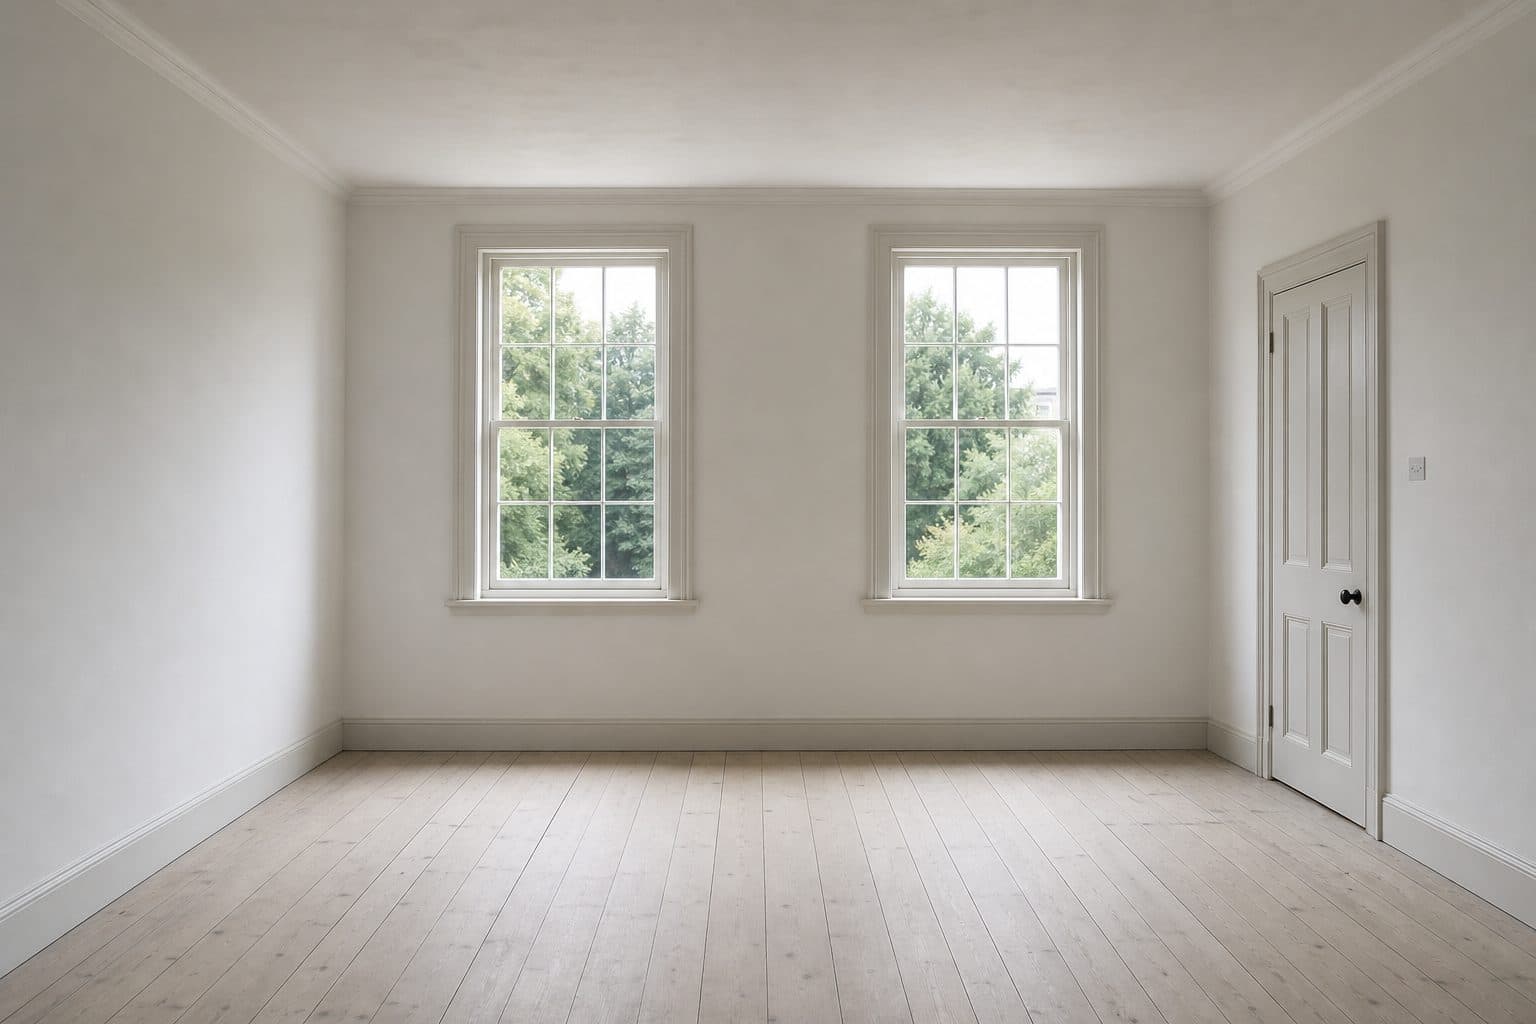
How does AI interior design work? Many tools take your photo, bury it in digital noise and ask an image model to redraw it in the style you picked. One setting, usually called strength or denoise, decides how much noise goes in. Turn it up and the model is free to redesign, which is also when windows slide along the wall, doors vanish and a 2.7 m ceiling turns into a vaulted one. Turn it down and every reroll comes back nearly identical. The fix isn't a better setting. It's telling the model which pixels are architecture before it starts, and keeping those pixels out of its reach.
Key takeaways
- Many AI room tools use one strength dial for the whole photo, so a bold redesign and faithful architecture pull against each other.
- Masked generation finds the walls, windows, doors, floor and ceiling first, then lets the model edit only what is left.
- Structure and creativity work best as two separate controls: one decides what may change, the other how boldly.
- Wider, brighter, level photos with the ceiling line in shot help any tool, masked or not.
- No lock is perfect. A good one tells you when it cannot read the room instead of guessing.
How does AI interior design work? The one-dial problem
Many AI room tools are built on a technique called image-to-image, or img2img. Your photo is converted into the model's internal representation, a measured amount of random noise is mixed in, and the model removes that noise step by step while steering towards your prompt (“Japandi living room, oak and linen”). What comes out is a new image that inherits whatever survived the noise.
The strength setting decides how much survives. The Hugging Face diffusers documentation explains it plainly: a higher strength lets the model stray further from your photo, and at the maximum the photo is largely ignored. The approach traces back to research such as SDEdit (Meng et al., 2021), which describes the same dial as a balance between realism and faithfulness to the input.
For a room, that one dial has to do two jobs at once. It decides how much of the style changes, and it decides how much of the building changes. It can't separate the two, because the model has no idea which pixels are a window and which are a curtain. To the model it is all just image.
What each end of the dial gets you
- Low strength: the room stays put, but so does almost everything else. You get a new cushion colour and the feeling that the regenerate button is broken.
- Middle strength: new furniture arrives, and so do small structural edits. A window narrows, a skirting line wobbles, a radiator becomes a cabinet.
- High strength: a genuinely different design, often in a genuinely different room. Windows move, doors disappear, the ceiling gains beams or height it never had, and the floor plan stretches.
No middle setting fixes both complaints, because the setting isn't the problem. The problem is that architecture and decoration share one dial.
Img2img vs inpainting: find the structure first, then edit the rest
Inpainting is the other half of the toolkit. Instead of adding noise to the whole photo, you supply a mask: a black-and-white image the same size as the photo. In the convention the diffusers inpainting guide describes, white pixels are the area to regenerate and black pixels are the area to keep.
Masked generation for rooms combines the two ideas. First, a perception step estimates depth and divides the photo into regions: walls, floor, ceiling, windows, doors. The openings, plus any surfaces that should stay, become the “keep” part of the mask. The model then gets the freedom of img2img, but only inside what is left: furniture, soft furnishings, décor and any finishes you have chosen to change.
| Approach | What the model may change | Where it goes wrong |
|---|---|---|
| Img2img (one strength dial) | The whole photo, by one global amount | Moved windows at high strength, near-identical rerolls at low strength |
| Inpainting (mask only) | Only the masked area, in principle | Some models treat the mask as guidance, so edges and nearby areas can still shift |
| Masked generation plus a composite | Only the editable region; the original pixels are pasted back over everything else | Only as good as its map of the room, and seams can show where kept and edited areas meet |
Why a mask alone is not enough
A mask tells a model where to work. It doesn't always stop it working elsewhere. OpenAI's image generation guide says its GPT Image models use a mask as guidance and may not follow its exact shape. The diffusers guide makes a similar point about models trained specifically for inpainting: because they learn to blend edits naturally, they are more likely to alter the unmasked area too.
The dependable fix is a final composite. After the model returns its image, the original photo's pixels are copied back over every protected region. Diffusers offers this as an overlay step and is candid about the cost: transitions between edited and kept areas can look less natural. For architecture, that is usually the right trade. A faint seam along a skirting board is easier to live with than a window in the wrong place.
Why structure and creativity should be separate controls
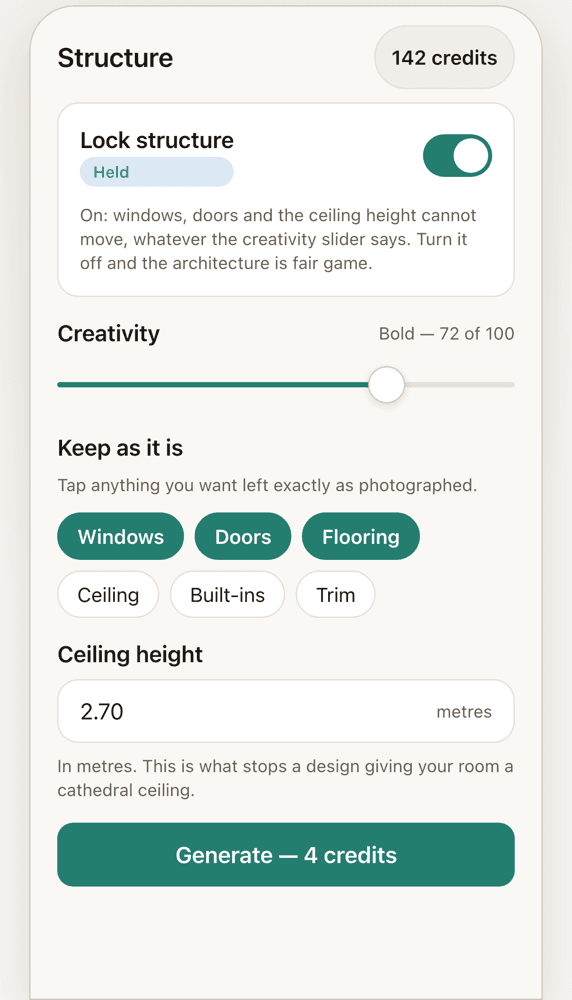
Once a mask handles the geometry, the strength dial can go back to doing one job. That is the idea behind the structure lock in Miradora, which we call StructureTrue. Before anything is generated, depth and segmentation work out where the walls, floor, ceiling, windows and doors are. That analysis runs on Miradora's own servers; the photo is then sent to OpenAI to generate the design. With the lock on, which is the default, the protected structure is composited back from your photo, so the windows, doors and ceiling height stay where they are whatever the creativity setting says.
Creativity is a separate slider from 0 to 100, with four named stops: Refresh (15), Restyle (40), Reimagine (70) and Rebuild (95). It controls how boldly the editable region is reinterpreted and never weakens the structure mask, so even at Rebuild the architecture survives. Two more controls sit alongside it:
- Keep as it is. Tap anything you want left exactly as photographed: windows, doors, flooring, ceiling, walls, built-ins, appliances, lighting, trim or plumbing. Each one is subtracted from the region the model may edit.
- Ceiling height. Enter it in metres, or leave it blank and the app estimates it from your photo. It goes into the instructions the model receives, and it is the number that stops a design giving a 2.7 m room a cathedral ceiling.
A scope control sits alongside these and decides what kind of thing may change: Refresh (soft goods only), Renovate (furniture and finishes) or Remodel (fitted work too). If you aren't sure which your room needs, refresh, renovate or remodel walks through the difference.
When the lock declines: rooms it can't read
A structure lock depends on reading the room correctly. When it can't, a tool has three options. It can quietly fall back to an unmasked render, which brings the moved windows back. It can guess, and protect the wrong pixels. Or it can stop and say so.
Miradora does the last. If the lock is on and the structure can't be read, it refuses to generate an unprotected render and shows this message instead: “We couldn’t read this room’s structure clearly enough to protect it. A wider, brighter shot usually fixes it — or turn off Lock structure to generate anyway.” Like any failed render, a declined one is refunded.
What a structure lock does not promise
- It isn't a guarantee in every case. You can switch it off, it can decline, and as the app's own disclosure says, AI output can be wrong. Check anything that matters against the real room.
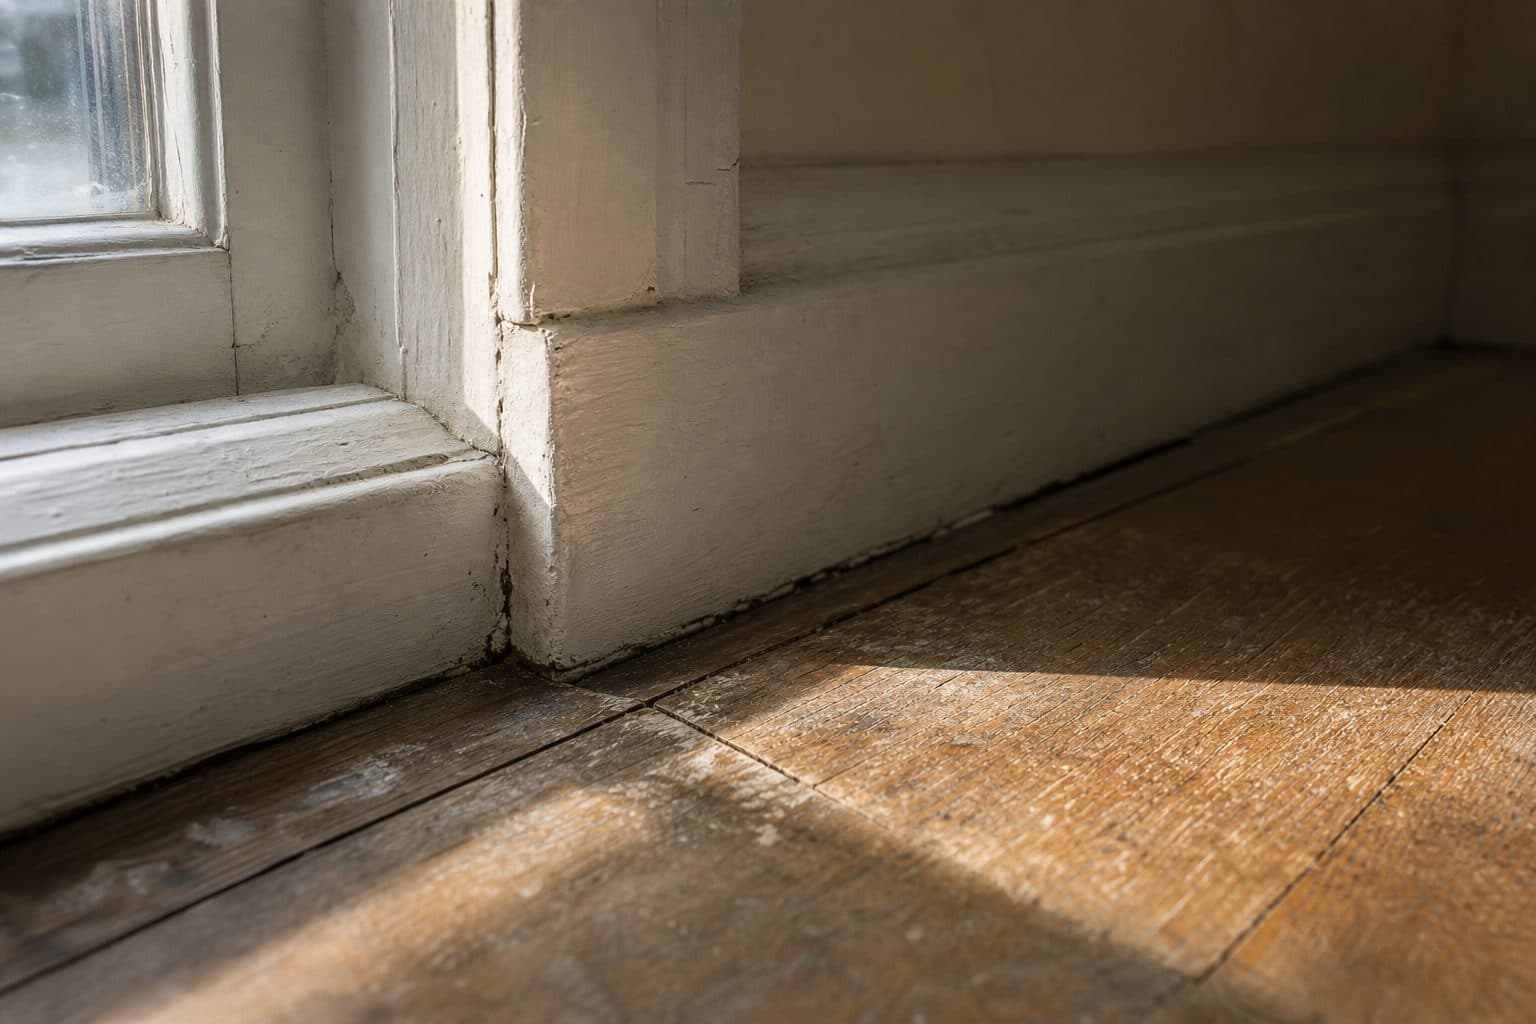
- It protects what it recognises. Segmentation can misread unusual features such as arches, glass partitions or mirrored wardrobes, so look closely at those areas in any render.
- A render is a picture, not a plan. It can't tell you whether a wall is load-bearing or a window can be widened. Take structural, electrical, plumbing and permit questions to a licensed professional.
Photo tips that work with any AI room design tool
Whatever tool you use, a better photo gives the structure step more to work with and the model less to invent. Most of these take seconds.
Before you take the photo
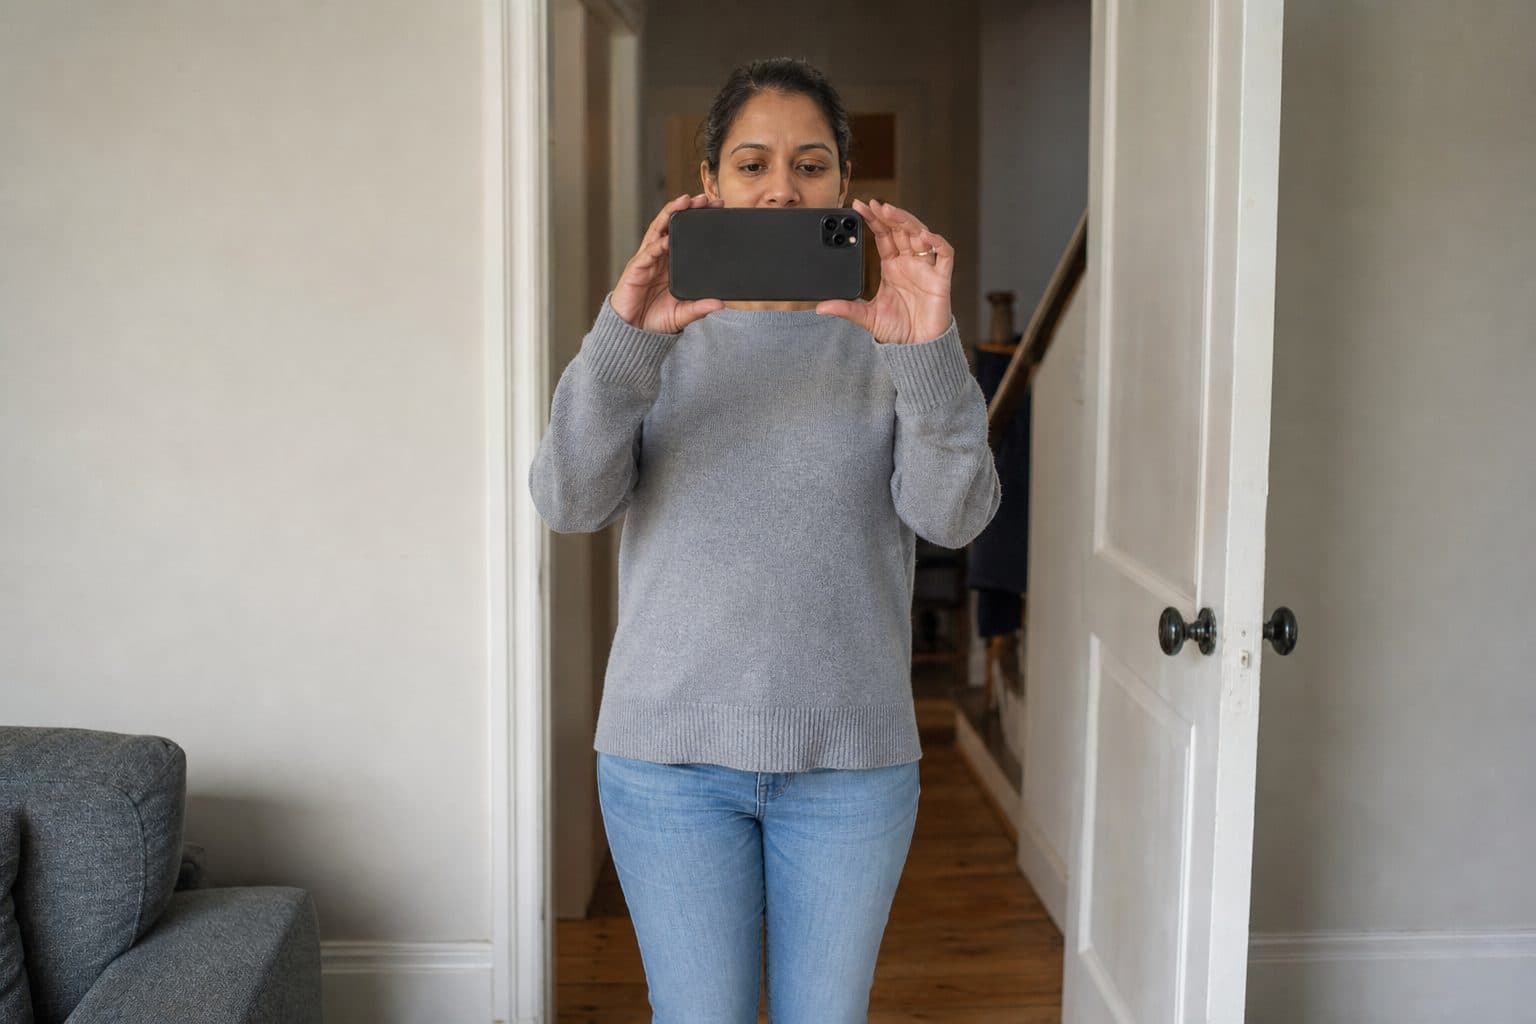
- Step back until you can see two walls meeting the floor. A doorway or a corner is usually the best spot.
- Turn the phone sideways. A landscape frame takes in more of the room.
- Hold the phone at chest height and keep it level, so vertical lines stay vertical.
- Tilt up a little so the line where the walls meet the ceiling is in shot.
- Open the curtains and switch on the lights. An evenly lit room is easier to read than a dim one with a glaring window.
- Clear loose clutter away from windows and doors so their edges are visible.
- Measure the ceiling height. It is the one number worth checking.
- Decide what must stay before you generate: flooring you are keeping, built-ins, a fireplace.
If a tool lets you mark what to keep, use it even for things that seem obvious. Radiators, sockets and skirting boards are exactly the details a model may decide to “improve”. And if it asks for a ceiling height, give it one.
Changing one object without rerolling the whole render
Say the render is nearly right, but you dislike the lamp. With a single-dial tool your options are poor: reroll at the same strength and hope the lamp changes while everything you liked stays, or lower the strength and watch nothing change. Either way you are rolling dice on the whole image to fix one corner of it.
Masking solves this the same way it solves windows: protect everything except the lamp, and generate only inside that small region. In the Miradora iPhone and Android apps, which are coming soon and not yet in the App Store or Google Play, that is Tap to Edit. You tap one object in a finished render and change only that object, for 1 credit, without regenerating the rest.
The same logic applies to colour. If wall colour is the only thing you want to change, try it with the paint visualiser, which repaints the walls and ceiling while the floor, windows and doors stay held. Then test the real thing, because screen colour differs from real paint: always finish with a physical sample. How to test paint colours before you commit covers that part.
The short version: ask any AI room tool two questions. What is it allowed to change, and how boldly? If one dial answers both, expect moved windows or identical rerolls. To see the two-control approach on your own room, you can try it free in your browser with 2 credits and no signup.
Frequently asked questions
Why does AI room design change my layout?
Many AI room tools use image-to-image generation with one strength setting for the whole photo. At higher strength the model redraws the room freely, and because it cannot tell architecture from decoration, windows, doors and ceilings can move along with the furniture. Tools that mask the structure before generating avoid most of this.
What is the difference between img2img and inpainting?
Img2img adds noise to the whole photo and redraws all of it, with one strength setting deciding how far it may stray. Inpainting redraws only the area marked by a mask and is meant to leave the rest alone, although some models treat the mask as guidance rather than a hard boundary. Room tools that combine the two often paste the original pixels back over the protected areas at the end.
Can AI interior design keep my furniture?
It depends on the tool. Masked tools can hold back anything they can identify. In Miradora, the Refresh scope changes soft goods only, and Keep as it is holds items such as flooring, built-ins, appliances, lighting and trim exactly as photographed. With a single strength setting, the only lever is lowering the strength, which also limits the redesign.
Does a structure lock guarantee my windows never move?
No tool can promise that in every case. In Miradora the lock is on by default, but you can turn it off, it declines to render when it cannot read the room, and AI output can be wrong. Check anything that matters against the real room.
Can I use an AI render to plan structural changes?
No. A render shows a possible look, not whether a wall is load-bearing, a window can be enlarged or a ceiling raised. Take structural, electrical, plumbing and permit questions to a licensed professional.
Keep reading
كل المقالات
Explainer
Renovate vs Remodel vs Refresh: How to Decide What Your Room Needs
Sort the decision by what physically changes, not by vocabulary, and pick the smallest change that gets you the room you want.
وقت القراءة: 8 دقيقة
How-to
How to Test Paint Colors Before You Commit: 7 Methods
A routine that narrows ten colours to two before you buy a single sample pot. The AI visualiser is the quick first pass, not the final say.
وقت القراءة: 8 دقيقة